
This scenario-based eLearning experience is a conceptual project. It is designed to help new restaurant workers navigate food storage situations successfully in a risk-free environment.
Audience: new to the industry restaurant workers or workers who need further training
Responsibilities: instructional design (action mapping, storyboarding, mockups, prototype, full build), visual design, eLearning development.
Tools Used: Articulate Storyline 360, Adobe XD, Adobe Illustrator, Google Docs, MindMeister, Freepik.
Case Study: Scenario-Based eLearning for Food Storage Training
Overview
The project aimed to address food safety errors in the restaurant industry by creating an engaging and interactive eLearning experience for new employees. These workers often struggle with food storage protocols, leading to foodborne illnesses, increased business costs, and potential restaurant closures. The goal was to ensure employees follow proper food storage guidelines to prevent these issues and maintain food safety standards.
The Problem
.The restaurant industry faces consistent challenges related to improper food storage. Employees frequently make mistakes when:
- Storing food in the cooler, leading to cross-contamination.
- Failing to dispose of expired food properly.
- Neglecting to label prepared food containers.
These mistakes can result in severe consequences such as foodborne illnesses, raised business costs, and, in extreme cases, the restaurant being shut down. The training needs to ensure that employees are well-equipped to avoid these mistakes and implement proper food storage practices in real-world scenarios.
The Solution
To address the issue, a scenario-based eLearning solution was developed to help employees learn and practice proper food storage practices in a risk-free environment. The eLearning module was designed to:
- Provide learners with realistic, scenario-based tasks related to food storage.
- Allow them to make decisions and understand the consequences of those decisions.
- Ensure employees can apply correct food storage techniques to real-world situations and follow food safety guidelines 100% of the time.
- Ensure employees can apply correct food storage techniques to real-world situations and follow food safety guidelines 100% of the time.
The solution aimed to foster better decision-making skills in food storage and improve overall food safety in the workplace.
Project Process
1. Analysis Phase
- Collaborating with the SME:
- .Collaborated with a subject matter expert (SME), a restaurant manager with 20 years of experience.
- The SME highlighted the common mistakes employees make, particularly in food storage.
- .Collaborated with a subject matter expert (SME), a restaurant manager with 20 years of experience.
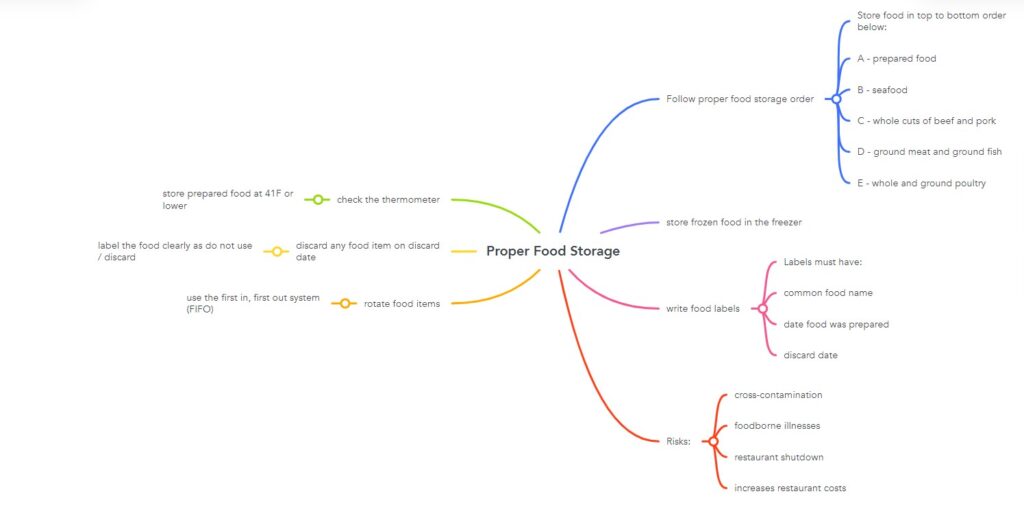
- Action Map Creation:
- Using MindMeister, an action map was created, outlining the key actions employees must take to store food properly.
- The map focused on three core areas:
- Expired food disposal
- Storing items in the cooler
- Labeling prepared food containers
- Expired food disposal
- Using MindMeister, an action map was created, outlining the key actions employees must take to store food properly.
- Learning Goal:
- The learning goal was set: “Employees will consistently follow proper food storage guidelines.”
2. Design Phase
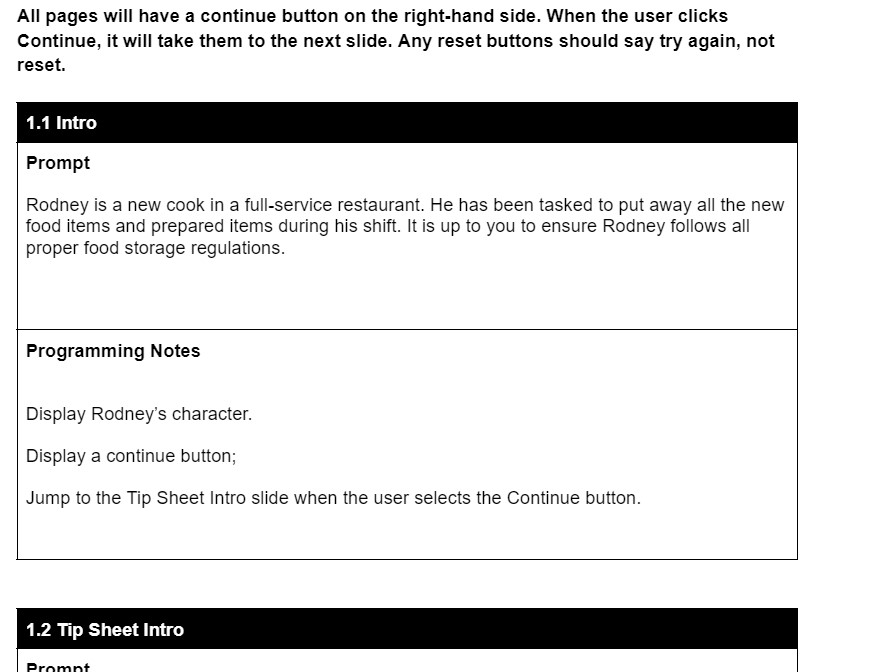
- Text-Based Storyboard Development:
- .Created a detailed text-based storyboard to outline the flow of the eLearning solution.
- Included realistic, scenario-based tasks with decision points where learners could make choices and see the natural consequences of their actions.
- A tip sheet was provided on every slide to guide the learners as they progressed through the content.
- .Created a detailed text-based storyboard to outline the flow of the eLearning solution.
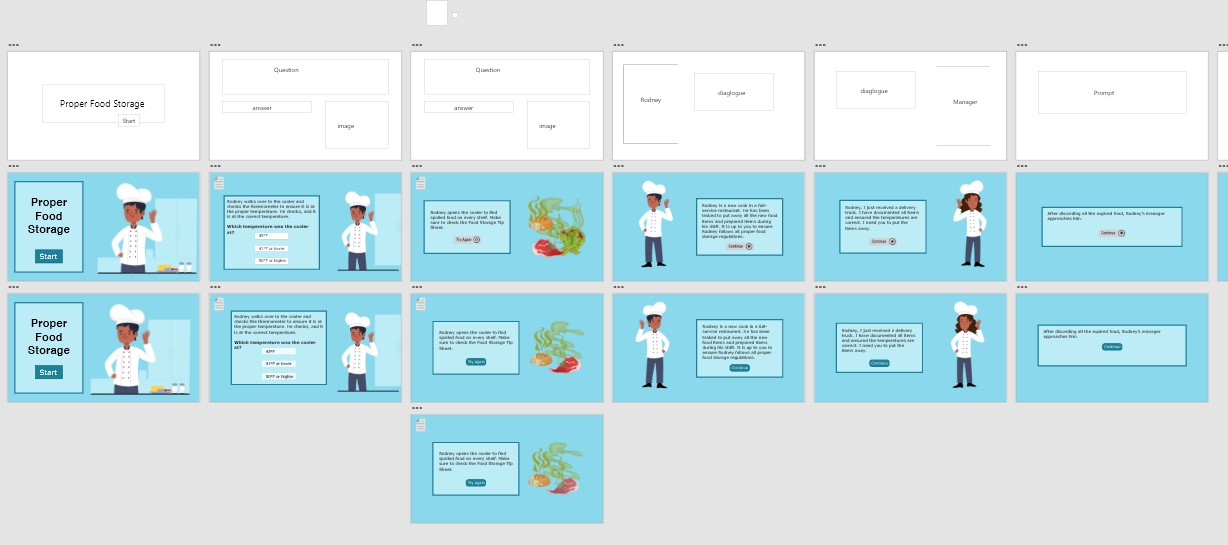
- Wireframing & Visual Mockups:
- Created a visual mock-up of the eLearning solution using Adobe XD, Adobe Illustrator, and Freepik.
- Developed wireframes for each slide and selected images to create an engaging, user-friendly interface.
- The mock-up was reviewed and refined through several iterations until the SME gave final approval.
- Created a visual mock-up of the eLearning solution using Adobe XD, Adobe Illustrator, and Freepik.
3. Development Phase
- Interactive Prototype Development:
- Developed an interactive prototype in Articulate Storyline 360 to showcase the functionality of the solution before moving to full development.
- The prototype included key features such as:
- Title slide, introduction, tip sheet, success meter, and scenario-based questions.
- Interactive buttons and transitions between scenes for a more engaging user experience.
- Title slide, introduction, tip sheet, success meter, and scenario-based questions.
- Developed an interactive prototype in Articulate Storyline 360 to showcase the functionality of the solution before moving to full development.
- Full Development Phase
- After receiving feedback on the prototype, I proceeded to develop the full eLearning solution in Articulate Storyline 360.
- Integrated interactive elements, refined the design, and ensured the solution met the project’s objectives.
- Ensured that all interactive elements functioned correctly, and that the course was user-friendly and engaging.
- After receiving feedback on the prototype, I proceeded to develop the full eLearning solution in Articulate Storyline 360.
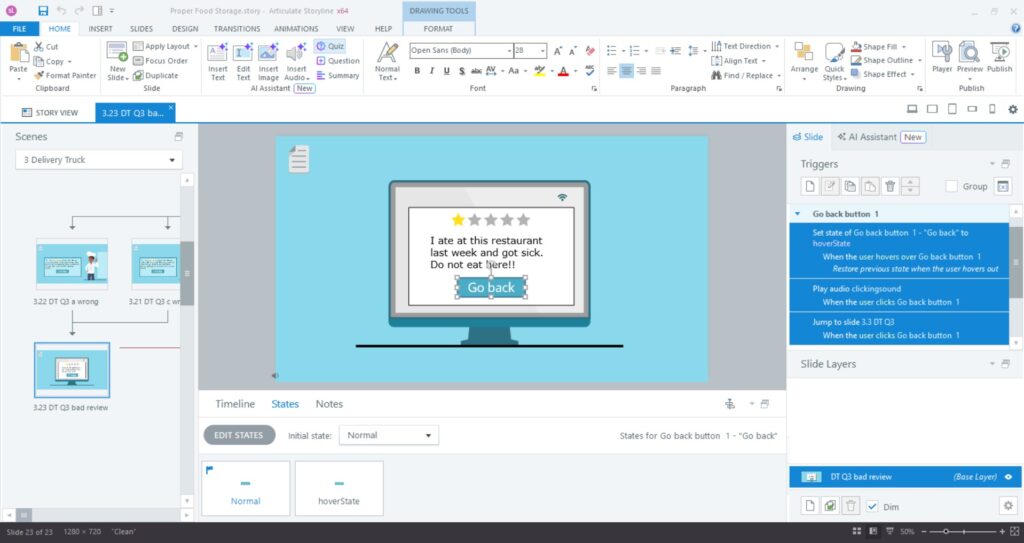
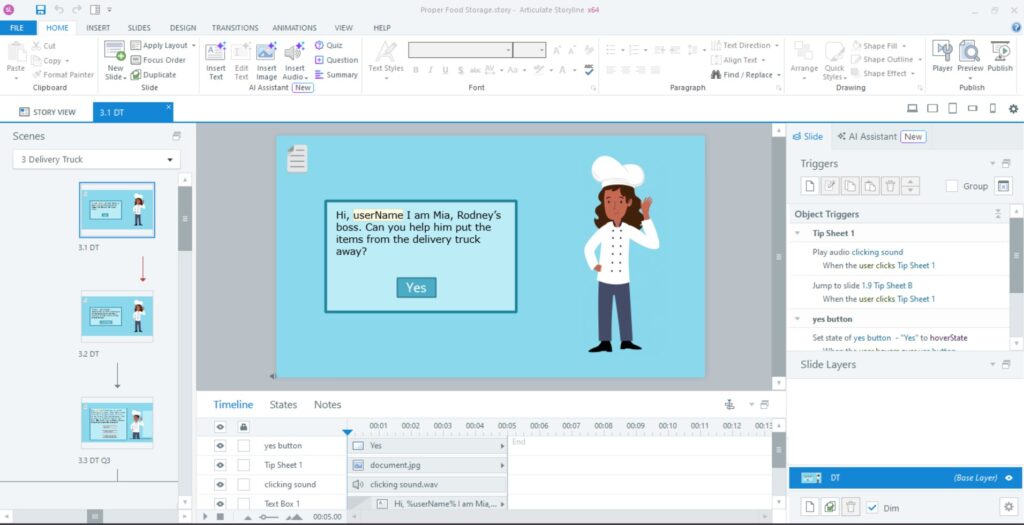
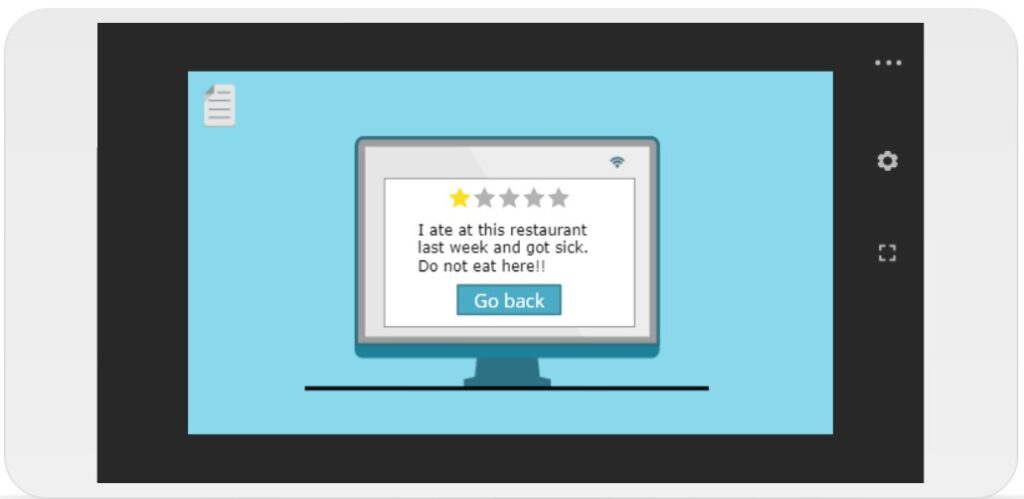
Interactive prototype built in Articulate Storyline 360
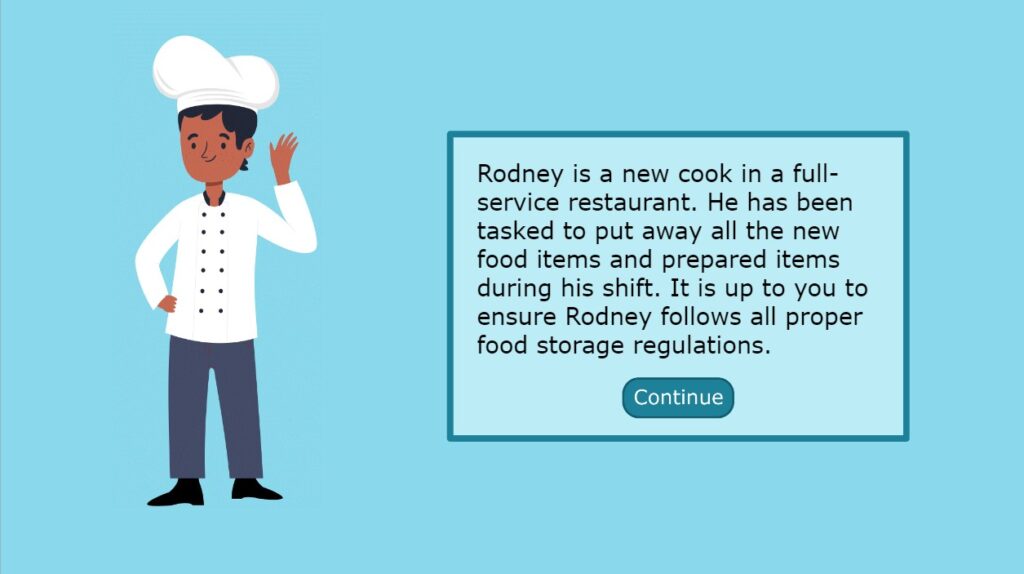
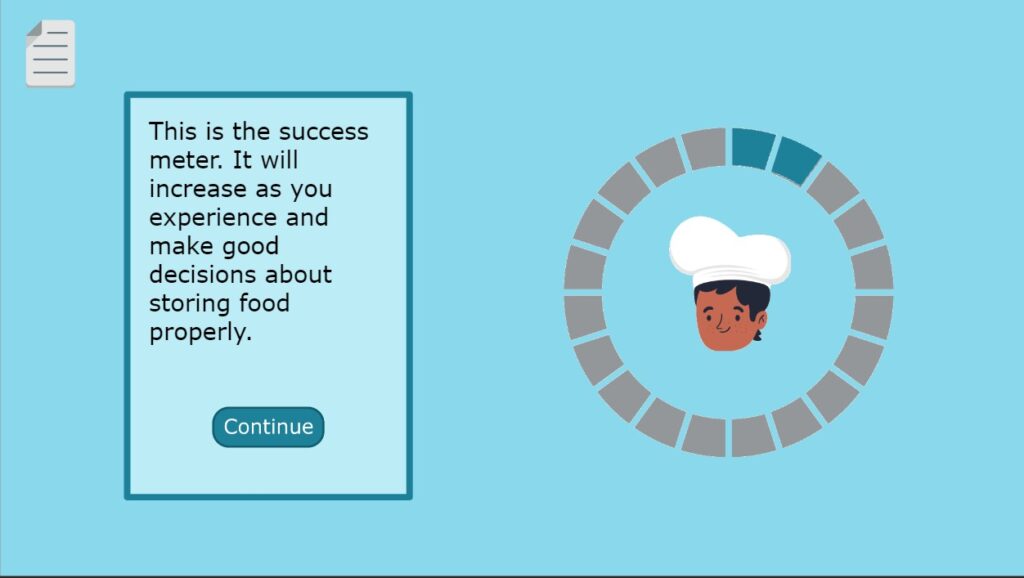
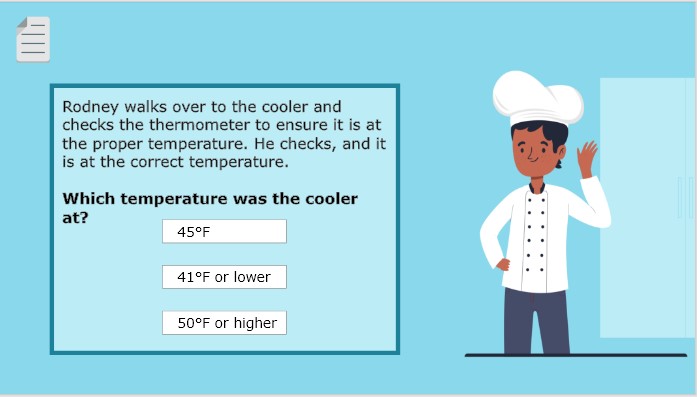
Slides from the full development
4. Implementation Phase
- This project was implemented by the SME with a small group of their employees.
5. Evaluation Phase
- Peer and SME Feedback:
- Throughout the development process, I sought feedback from peers and instructional design professionals.
- This feedback was incorporated into the final version, ensuring smooth functionality, consistency, and a high-quality user experience.
- After implementing the final development, I received feedback from the SME and revised the eLearning.
- Throughout the development process, I sought feedback from peers and instructional design professionals.
After implementing the final development, I received feedback from the SME and revised the eLearning.
Gagne’s Nine Events of Instruction
The eLearning experience was designed following Gagne’s Nine Events of Instruction:
1. Gain Attention:
- Engaged the learner by presenting a scenario and asking them to help Rodney with his food storage task.
2. State Objectives:
- The objective was introduced when Rodney asked for help: “Can you help me make sure I do it the proper way?”
3. & 4. Stimulate Recall and Present Content:
- Learners recall previous training and use the food storage tip sheet presented in the training.
5 Provide Guidance:
- Guidance is provided through the tip sheet, available on every slide.
6. Elicit Performance:
- Learners demonstrate knowledge through multiple-choice and drop-down menu questions.
7. Provide Feedback:
- Immediate feedback is given on answers, with consequences for incorrect responses, reflecting real-world scenarios.
8. Assess Performance:
- The learner’s performance is continuously assessed through scenario-based questions.
9. Enhance Transfer:
- Scenario-based learning allows learners to make real-world decisions in a risk-free environment.
Reflection
- Key Insights:
- Collaborating with the SME on the action map was crucial to the project’s success, as it provided clear direction for the design and content.
- The instructional design process requires patience, attention to detail, and the ability to iterate based on feedback.
- Collaborating with the SME on the action map was crucial to the project’s success, as it provided clear direction for the design and content.
- Challenges and Successes:
- While some steps in the process were more challenging than others, I thoroughly enjoyed the process of bringing my vision to life.
- The project was a rewarding experience that allowed me to apply instructional design principles and learn valuable lessons in creating engaging eLearning solutions.
- While some steps in the process were more challenging than others, I thoroughly enjoyed the process of bringing my vision to life.
- Skills and Tools
- Developed skills in using various instructional design tools like Adobe XD, Vyond, and Articulate Storyline 360.
- Gained experience in designing interactive and immersive eLearning solutions that promote engagement.
- Developed skills in using various instructional design tools like Adobe XD, Vyond, and Articulate Storyline 360.
Conclusion
This project successfully addressed a critical issue in the restaurant industry by creating a scenario-based eLearning solution that taught employees proper food storage practices. Through collaboration with an experienced SME and careful application of instructional design principles, the training provides a risk-free environment for learners to practice decision-making and master essential food safety skills. The result is a highly engaging, effective eLearning solution that ensures employees are equipped to follow proper food storage guidelines and prevent costly mistakes in the workplace.